How to Stop iPhone Camera from Brightening Photos
Without a doubt, iPhones come with amazing cameras.
Some have advanced features such as Smart HDR, face filters, and auto photo enhancement that let you produce stunning shots.
However, there comes a time when you want to be in control and personalize settings to suit different occasions.
Take auto-enhance for instance. Sometimes it over-brightens photos resulting in oversaturation.
You would then need to sit down again to edit the photo by toning down the overexposed areas.
But since no one wants to spend a lot of time editing pictures for crazy shadows, extreme sharpness, and change of color, this brings us to one very important question…
How do you stop iPhone camera from brightening photos?

Here are a couple of suggestions to try out.
1. Turning off the auto-enhancing feature
The first thing most people think about is to fiddle with the auto-enhancing feature with the intention of disabling it.
If that is what you were also thinking about then be ready for a shocker.
You see, the auto-editing feature comes prebuilt into your phone’s chip. So you can’t track it like other settings and turn it off.
Deep Fusion, as Apple calls it, was designed to process every image pixel by pixel with the aim of improving it.
Other companies apply the same feature to their phones too.
2. Shoot in “RAW” mode
One way to circumvent pre-applied enhancement is to shoot in RAW mode. Before you do that, tweak the photographic styles to standard.
There are third-party apps like Halide that lets photographers shoot in raw mode as well.
3. Adjust HDR settings
Another solution you can try to prevent photo overexposure is to turn off HDR.
High Dynamic Range adds bright highlights to images and makes them pop.
In some iPhones, this feature is already activated so you’ll need to open the camera’s settings and switch it off.
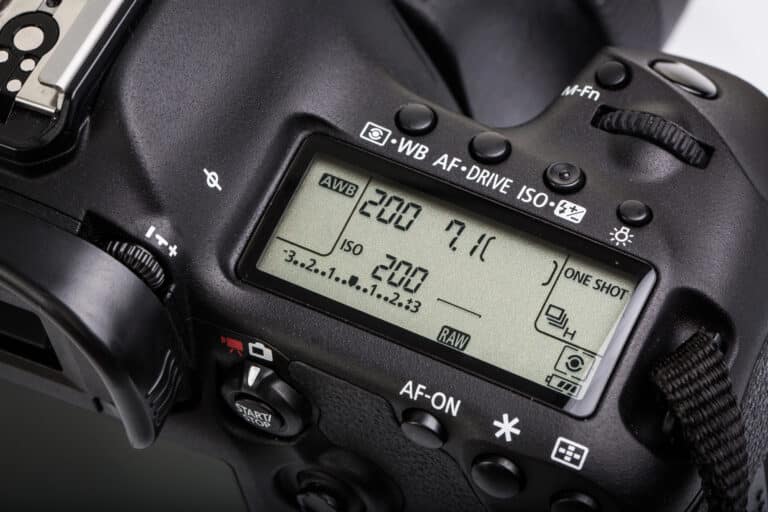
4. Adjust ISO settings
Each pixel in a photo communicates with light entering the camera. Under high ISO, the pixels become more responsive.
Results? The picture comes out with a lot of brightness.
While Higher ISOs have their place in the photography world, sometimes you’ll have to deal with a lot of unwanted noise.
Many iPhone cameras come with standard ISO settings.
If during auto-enhancement the photos come out too bright, you might as well adjust the range to a level that feels okay to you.
Simply switch by tapping the + button on the right side of the shutter speed and dragging the slider to edit values.
5. Apply Noise Reduction
Over at Apple’s forum, some users suggest that they applied noise reduction techniques.
This can be done from the get-go by tweaking the shutter speed, ISO, and aperture.
In post-production, you would need to use tools like Photoshop and Adobe’s Lightroom to fix overexposed areas.
6. Explore the Burst Mode
Some people have suggested that shooting pictures in Burst Mode reduces auto-enhancement.
The idea here is to capture a series of photos in quick succession and be able to pick several that delight you the most.
To shoot in burst mode, open your camera setting and turn on “use volume up” for burst shots.
While using this approach, make sure your phone isn’t one of those that reduce the resolution to allow for faster shooting.
7. Take control of the camera
Many phone models, iPhone included, don’t let you edit things like exposure, shutter speed, white balance, and other settings.
Truthfully, some of these settings determine how bright the pictures come out.
So if you don’t want your camera doing its thing, then you must take control.
Unfortunately, on its own, the iPhone camera restricts you from tweaking some settings. You will need the assistance of apps like Halide and VSCO.
VSCO is a free app that grants you access to shutter speed, focus, white balance, exposure, and ISO.
Being free, the app has its limitations like you only have access to a few settings and it can be slow.
With Halide, you pay a few dollars to gain access to additional settings like depth of field and exposure compensation.
Of course, some may not help with the brightness problem but having more control can help you personalize your shoots in different conditions.
You shouldn’t always blame your phone
There are times when your iPhone is not to blame for overexposed shots.
Let’s say you are shooting the sun or snow or an object that is surrounded by a lot of light. No matter how good your phone is at metering, some pictures will definitely be grainy.
So the solution here is to allow your phone to find the right balance. Optionally, you can shoot at a different time when too much brightness isn’t an issue.
There’s the issue of the angle of capture. If the sun doesn’t need to be in the image, switch to a better side.
For instance, let your subject get under a tree or on the floor in case you want aerial shots.
Avid photographers may have experienced a concept called veiling flare.
This is where a very bright light source hits the lens at an angle that leads to light bouncing inside the camera.
Consequently, it leads to pictures coming out with improper contrast.
The good news is veiling flares can be easily fixed or masked in post-production.
Final Thoughts
Blocking photo auto-enhance in the iPhone is something many photographers grapple with.
While bright images pop nicely, a bit more noise can be improper on some occasions. For this reason, you need to learn how to stop iPhone from brightening photos.
We have already discussed a few techniques such as shooting in RAW mode, disabling HDR, or shooting in Burst Mode.
You may have to try all the methods to see which delivers the most desirable results.