How To Capture RAW Video On Canon Cameras
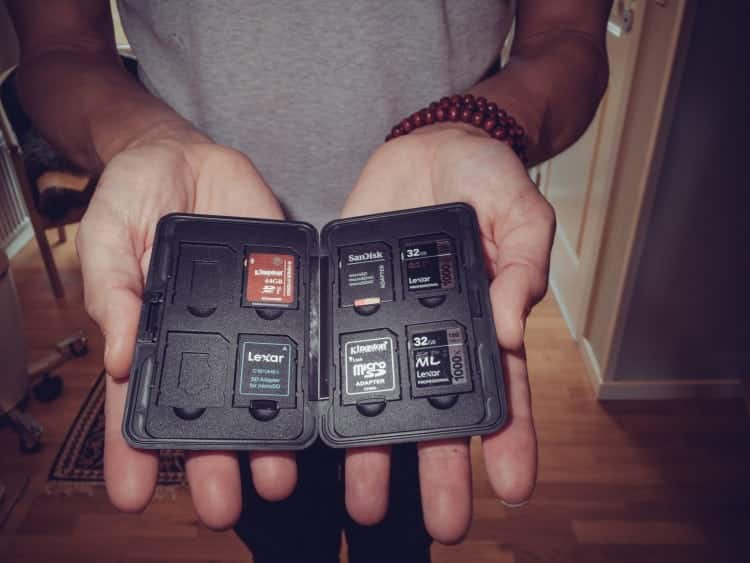
The first thing you need to capture RAW video on Canon cameras are these types of fast SD cards:
- Sandisk (click to check price)
- Lexar Professional (click to check price)
- Prograde (click to check price)
- Sony (click to check price)
As you might know, it’s possible to run third-party firmware to activate raw mode on your camera. Such software enables a host of otherwise unavailable features, including raw video capture.
In this article, you’ll learn how to capture raw video on your Canon camera, if it’s possible with your particular model.
Raw footage might be possible even if you don’t have the mirrorless flagship EOS R5, or a dedicated videomaking tool such as the Canon XA11. We’ll also cover some intricacies we’d wish we had known before we tried this mod ourselves.
Finally, we’ll cover the most pressing questions concerning the whole process.
Let’s dive in.
What is Raw Video Exactly?
If you want to produce cinematic-looking footage once you hit that shutter button, shooting raw is your best bet. That’s because it’s an uncompressed video format that preserves vastly more data within the image.
Think of it like shooting a raw photo vs. a JPEG image file on a digital camera, but for a video camera. The result is greatly improved flexibility in post, giving the option to properly grade the footage to look like a commercial feature film.
Although color-grading is possible using ‘just’ flat image profiles in lower codecs, raw provides much more elbow room. While shooting raw might not be necessary to produce pro-looking footage, it can certainly make it easier to get that expensive cinematic look and feel.
That’s because raw provides better dynamic range and more natural colors. Compared to lower quality codecs, it also enables better detail recovery in shadow and highlights. The biggest drawback with an uncompressed raw image is a much larger raw file size.
With raw recording, you’ll have more flexibility with white balance corrections with the raw file format when selecting this option on your mirrorless or DSLR camera.
Can my Canon EOS Camera Shoot Raw Video?
The short answer is maybe – it depends. Although many of Canon’s cameras are theoretically able to shoot raw video in terms of hardware, many have been limited by the manufacturer.
Those restrictions are there to ensure a smooth user experience, reduce the risks of malfunction and overheating, as well as for commercial reasons. But wait, there is more.
If you have some DIY-can-do spirit and don’t mind the potential risks associated with modding your DSLR or mirrorless camera, there might be a way to unlock raw video capture. But more on that later.
First, let’s look at what options Canon officially offers to capture raw format video without any hacking.
Raw Footage on Canon C-line and Mirrorless Cameras
As of recent times, you’d have to invest in either an EOS R5 or a C200. In turn, the source footage would be practically on par with Arri Alexa, at a fraction of the cost.
Never mind 4k video! Canon’s R5 mirrorless powerhouse can shoot up to 8K raw footage straight out of the box. Each pixel within the captured image counts. The Canon raw video codec coming out of the R5 is a 10-bit 4:2:2, which is the same as the mighty EOS C200 produces.
The mirrorless R5 beast offers the highest Canon raw video resolution to date (30P frame rate). Its sibling R6, although capable, does not have the raw video feature, nor 8K.
The C200 predecessor C100 M1/M2 is by no means a slouch either, and it’s super compact, too. The newest member of the Cinematic family from Canon is the C70, which is even smaller. It doesn’t shoot raw video, however.
For that, you’d have to buy or rent either a Canon EOS C200 or a Canon EOS R5. Or, if you’re a bit of a rebel, install Magic Lantern on your older DSLR.
Magic Lantern – a Jailbreak for Your Camera
You’ve probably heard that it’s possible to jailbreak an iPhone. The term jailbreak originated from the UNIX scene and was brought to the mainstream by George Hotz, aka geohot.
Hotz was the first person to successfully install and run unauthorized software on an iPhone (and on a Playstation).
Hotz’s reasoning was that the consumer is in his good right to install whatever he likes, as he or she has paid for-and thus owns the hardware. A camera manufacturer will tend to disagree with this sentiment and attempt to force us to stay within the boundaries by any means possible.
Meanwhile, there is an open-source project called Magic Lantern, and it might be the Canon jailbreak you need to gain access to shooting raw video. Without spending tens of thousands on an Arri Alexa, mind you.
WARNING: Magic Lantern is not without risks, though, as there is a possible chance that you might brick your camera.
Plus, your warranty is void if anything goes wrong. However, if you have an older Canon 5d mark ii and are feeling brave, you might decide to try ML at your discretion.

The ML software is essentially a modified version of the camera’s operating system, running on an SD card.
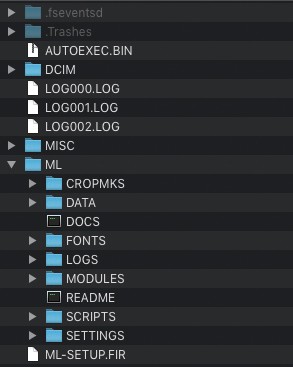
Warning: whatever you do, don’t eject your ML card while the red writing led is on. We generally recommend extreme caution, using only a stable version, and reading up on the community comments before attempting the mod.
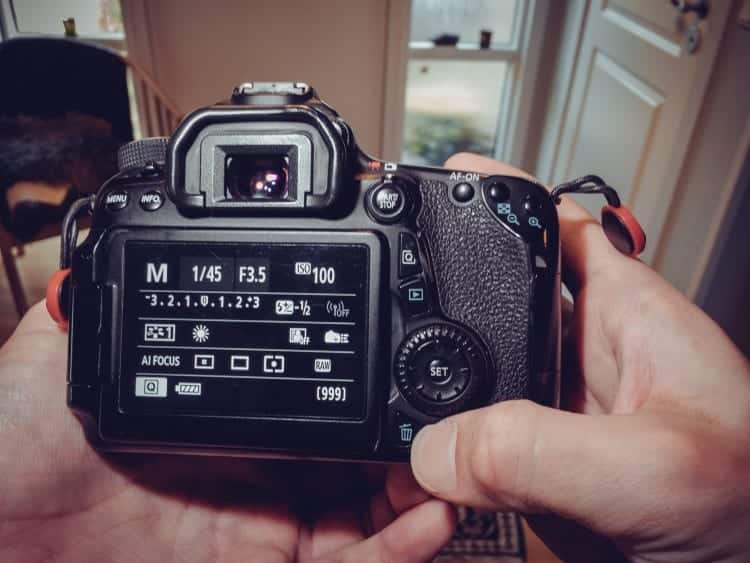
Capturing Raw Video on a Canon DSLR
What might come as a surprise to the uninitiated is that entry-level models like EOS Rebel T3i / 600d and the even older T2i / 550D can also capture raw footage with the help of ML.
However, the improvement over Cinestyle might not be justifiable, especially considering the extra hassle in the workflow.
Newer devices such as the EOS 700D / Rebel T5i can also be enabled to capture raw video with the Magic Lantern hack. While you might be trading off resolution for dynamic range and better colors, it might be worth it, depending on the project.
Other Canon Cameras that Can Shoot Raw Video
Theoretically, you can shoot raw video on any camera that has a stable Magic Lantern build. For example, both the somewhat older but capable EOS 7D and 70D from Canon will gracefully capture raw footage with ML.
However, be mindful of writing speed limitations to avoid frame skipping. More on this later.
As of the moment of writing, there are no working Magic Lantern builds for EOS 80D nor 90D. As for Canon’s newest iteration of the Rebel series, T7i, there is currently no stable ML hack, either.
A Quick Word on C-Log vs. Cinestyle vs. RAW
Cinestyle is a flat, milky-looking color profile developed by Technicolor, while C-log is the Canon log equivalent. All in all, the two are very similar, and there are merely subtle differences between them. With proper grading, both can lead to very similar results in post-production.
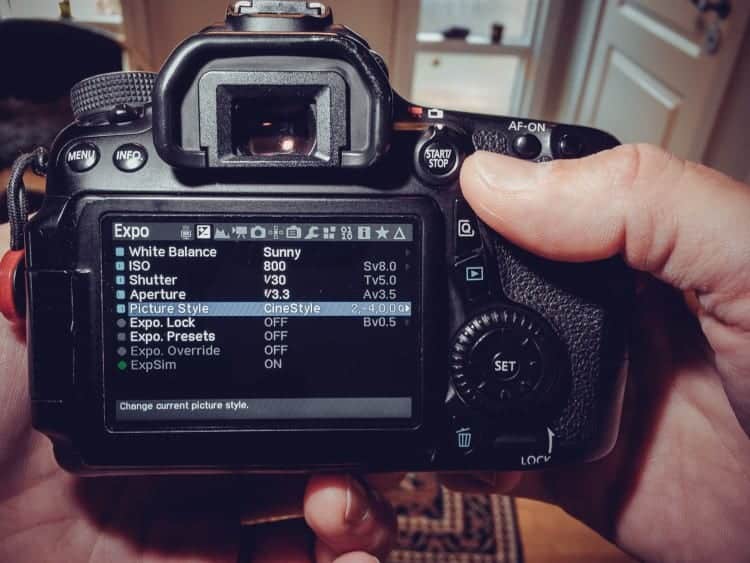
On most Canon cameras, the C-Log profile offers 4:2:0 chroma subsampling, with adjusted sharpness, saturation, and contrast. It contains 50% less RGB color encoding than the 4:2:2 codec that comes out of the EOS R5 or C200.
Compared to the 4:4:4 raw file footage you’d find in Alexa, it’s a 75% drop. With Magic Lantern, you can potentially make your old Canon camera record in 4:4:4 at a fraction of Alexa’s price.
Although, technically, even 4:2:0 footage in C-Log or Cinestyle can be graded to deliver a stunning, cinematic-looking image. Writing speeds and file sizes are also something to consider, especially if you’re recording to a card.
It’s important to note that we can choose a flat color profile both when shooting in raw and lower-quality codecs.
Factors to Consider When Using Magic Lantern
Aspect Ratio & Resolution
Once you’ve eventually installed Magic Lantern on your camera and have set it up just the way you like it, you might think you’re in the clear.
However, there are a few essential things to consider before you’re ready to start shooting.
First, some of the older models have painfully low writing speeds. For example, when shooting raw video on an EOS 70D, you’ll find that the effective limit is a modest 34 MB/s.
That’s a challenge, as it leads to frame skipping unless we dial in the right combination of raw video aspect ratio and resolution.
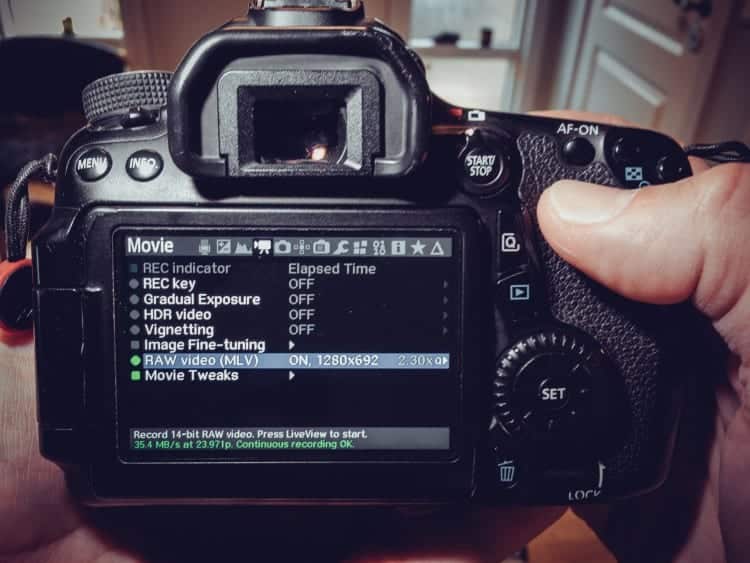
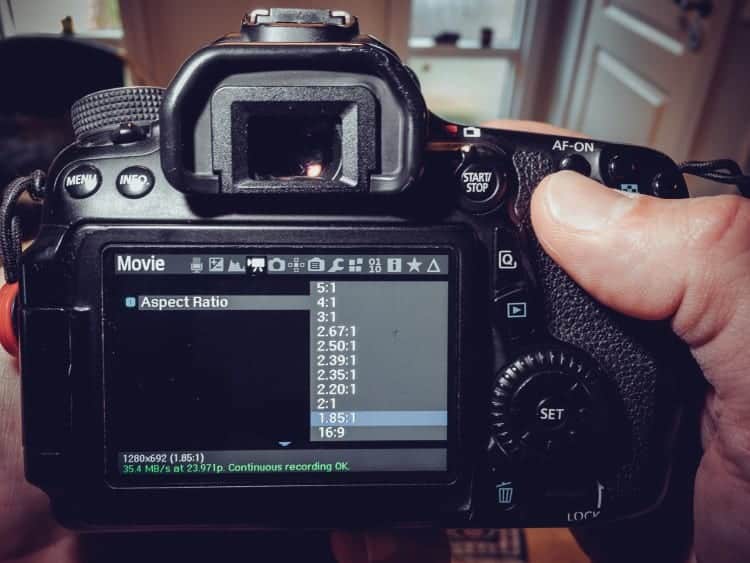
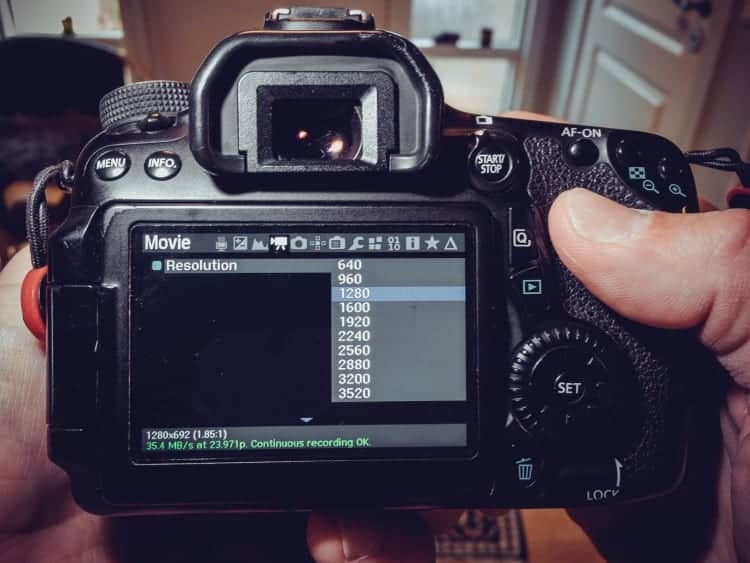
In this instance, the memory card or CF card should not even be an issue when saving the raw sensor data. Picking the correct Canon raw video aspect ratio is critical to get smooth footage. Frame skipping leads to the video and audio gradually gliding apart, which is a total nightmare to edit.
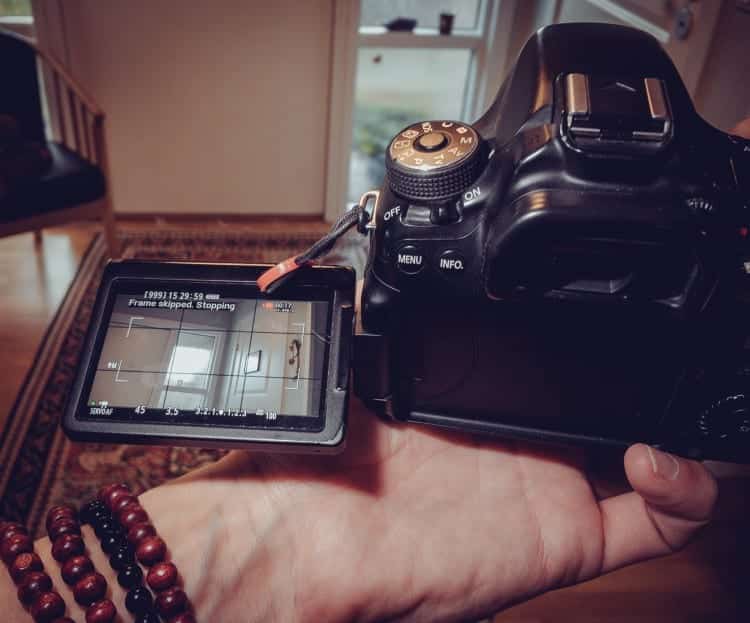
Remember this essential basic: if you are using a low-quality lens, your raw video will still look substandard no matter what camera sensor or raw module you are using.
Luckily, Magic Lantern shows how many MB/s the footage requires when choosing a particular video quality setting.
SD Card vs. External Recorder
This aspect of our raw workflow can get tricky. Firstly, we need to find our camera’s writing speed. There are two easy ways to check this:
- Refer to the numbers in ML when choosing video aspect ratio and resolution.
- Run the bench.mo module in ML to get the actual number.
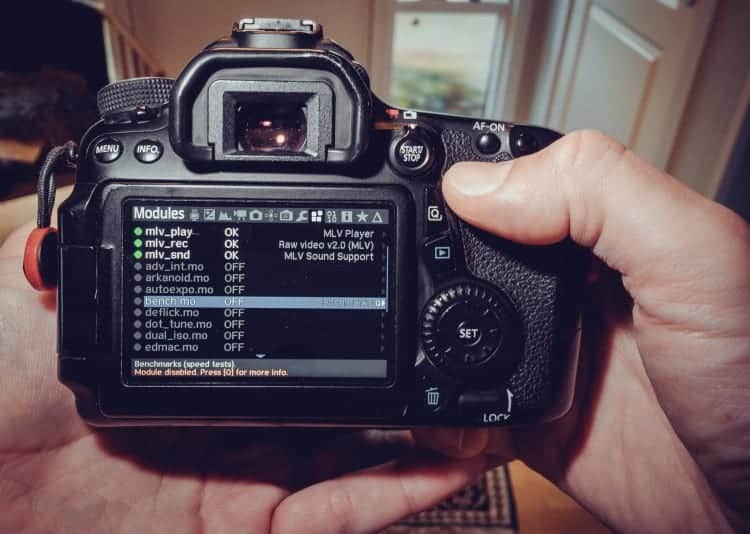
We could resort to looking it up on Google, but in practice, the speed often differs in the real world. The safest option is to run an actual benchmark test.
Once we’ve determined the maximum writing speed, we can adjust our video settings to be at or preferably slightly below that. We’d advise doing some test shots before doing hours of video with skipping frames in between.
Once we know the writing speed, we can pick the ‘write’ card for the job. Sorry! Some cameras allow for better quality footage when writing to an external recorder.
If you’re running a fully kitted-out rig, it might be the better option anyway. Shinobi and Ninja from Atmos are well known for being reliable choices. Remember, we’re saving very large raw files here, not a tiny jpeg file or a relatively small DNG file.
Recommended External Recorders For Capturing Raw Video
Atomos Shinobi 5-inch HDMI 4K Monitor Atomos Ninja V Atomos Ninja V 4Kp60 10bit HDR Daylight Viewable 1000nit Portable Monitor/Recorder ATOMNJAV01FAQ
Which SD Card should I Use for Raw Video?
The short answer is: as fast as possible, but not faster than the camera can write. As far as storage capacity goes, it depends on the project. If you plan to shoot hundreds or thousands of Gigabytes, you might be better off with an external recorder.
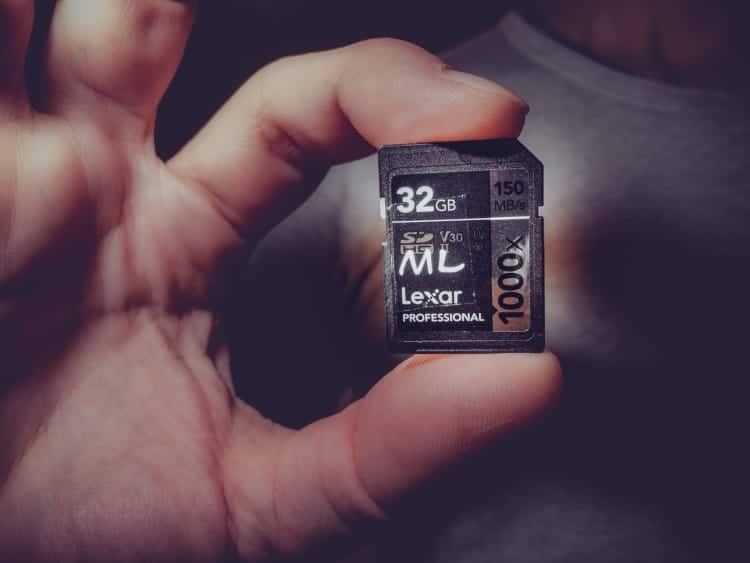
There is no benefit to getting a card with higher writing speeds than your camera can spit out footage. Unless, of course, you’re planning to upgrade in the near term.
Below are the most popular, fast, and reliable uhs-ii v90 SD cards on the market as of now:
- Sandisk (click to check price)
- Lexar Professional (click to check price)
- Prograde (click to check price)
- Sony (click to check price)
How to Shoot Raw Video on my Canon EOS 5D Mark IV?
Unfortunately, capturing raw footage on a 5D Mark IV is not possible at the time of writing. However, if you have a Mark III or Mark II, you’re in luck.
You’d need to format your SD card and then visit the downloads section on magiclantern.fm. Go to Nightly Builds and pick the correct version according to your firmware. Next, follow the instructions to download and transfer the software to your memory card.
Once the camera boots up, it should be running Magic Lantern, which you can verify by hitting the trash icon. From here, pick a video resolution and aspect ratio that lands overall under 90MB/s. That’s it. Your 5D can now capture raw video.
How to Remove Magic Lantern from my Camera?
Technically, ML is not on your camera in the first place. Since the software runs on a memory card, you can carefully remove it and replace it with another. Your camera should now boot up the standard Canon firmware.
It’s useful to mark your ML card, to tell it apart from your regular ones. Just remember once again; don’t ever eject the ML card while the red writing led is on or blinking, and you should be fine.
For the same of your safety, here are the most critical points to remember when attempting to mod your Canon camera:
- Check magiclantern.fm for available Nightly Builds
- Never eject your ML card while the red led is on
- Pick the correct video quality to avoid skipped frames
- Get the proper SD card for your raw footage
- Be aware that you’re modding at your own risk
Can I Edit my Magic Lantern Raw Files in my Video Editing Software?
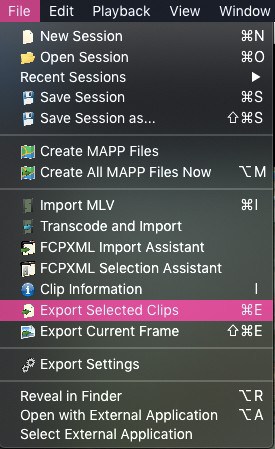
The short answer is yes, but only with a workaround. Once you’ve captured some raw footage on your Canon camera, the file type has a ‘.MLV’ file extension.

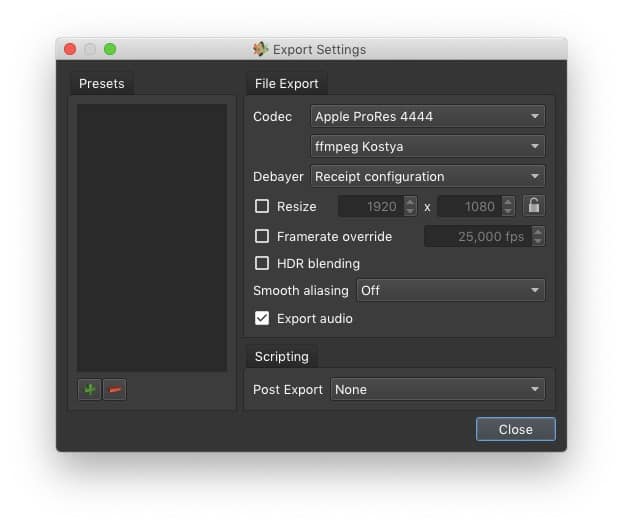
Before you can use it in your editing software such as Premier Pro, Final Cut, or Filmora, you need to process them in the MLV App. The open-source app is like Lightroom for your videos.
It comes for Mac OS, Windows, and Linux and is a breeze to use. Naturally, MLV App is not cloud-based, either.
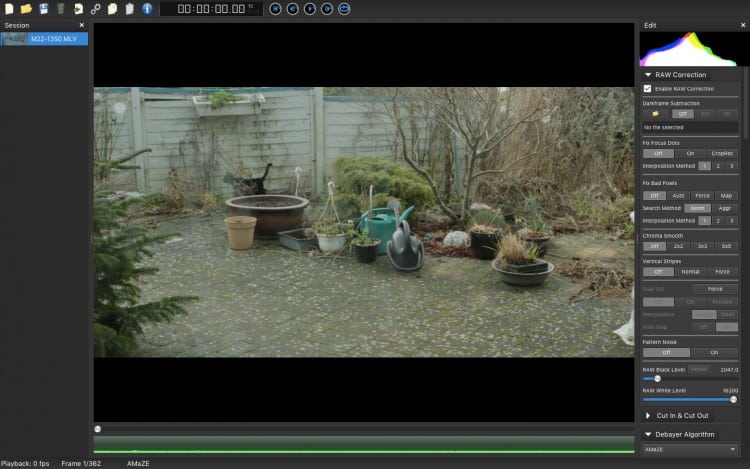
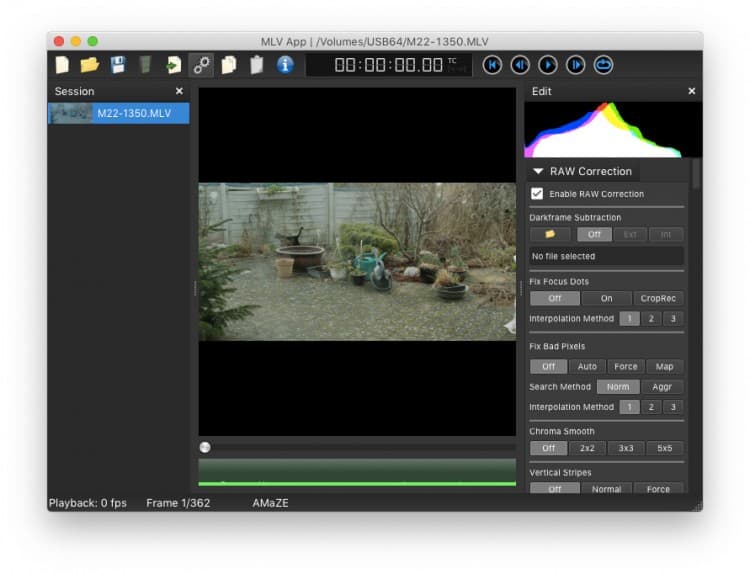
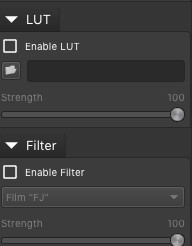
From within the app, you can convert the raw files to something like ProRes or even Dng. You can also apply LUTs and even do some rather technical raw conversion tweaks before exporting the footage.


Final Words
There are always multiple solutions to any given problem. Although running third-party software on your Canon camera is not without risks, it could be worth a shot (excuse the pun.) Magic Lantern allows for capturing raw source footage on several of Canon’s models.
The installation process is relatively straightforward, and there is a supportive community to help you out.
If you’d rather play it safe, there are options such as the mirrorless powerhouse R5 and the mighty EOS C200.
Alternatively, other makers such as Panasonic or Sony are viable options if you’re still trying to decide which system to settle on for your filmmaking projects.

